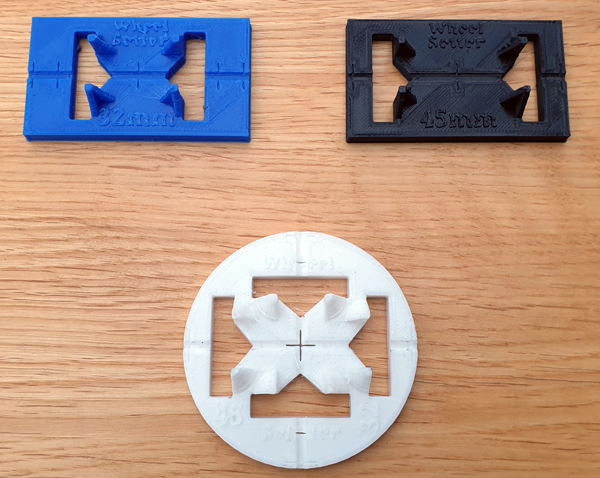
32/45mm Chassis
|
32/45mm Chassis |
 2-Plank Wagon |
 5-Plank Wagon |
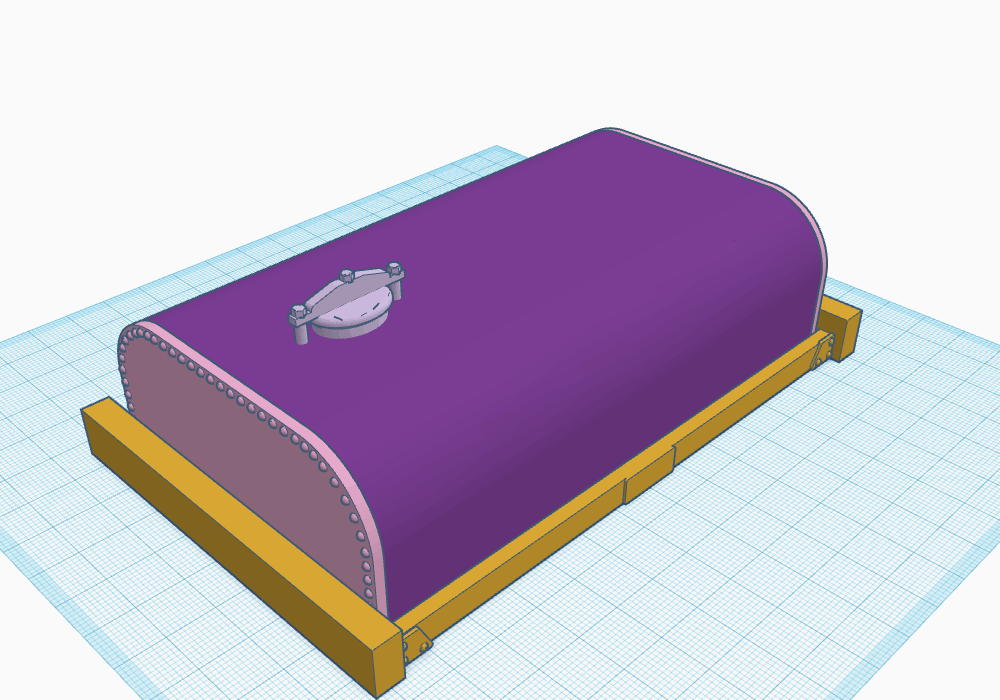 Tank Wagon |
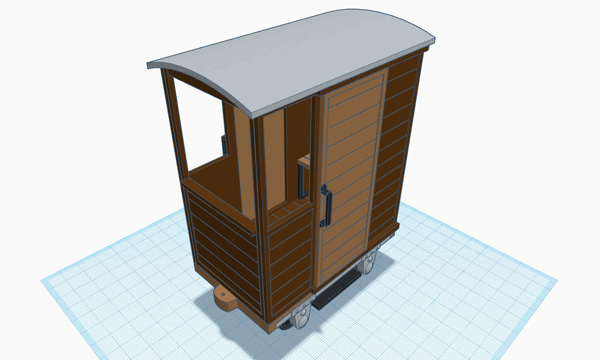
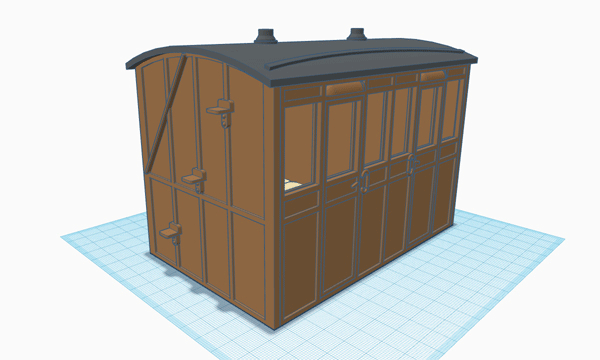 Coach New SWB |
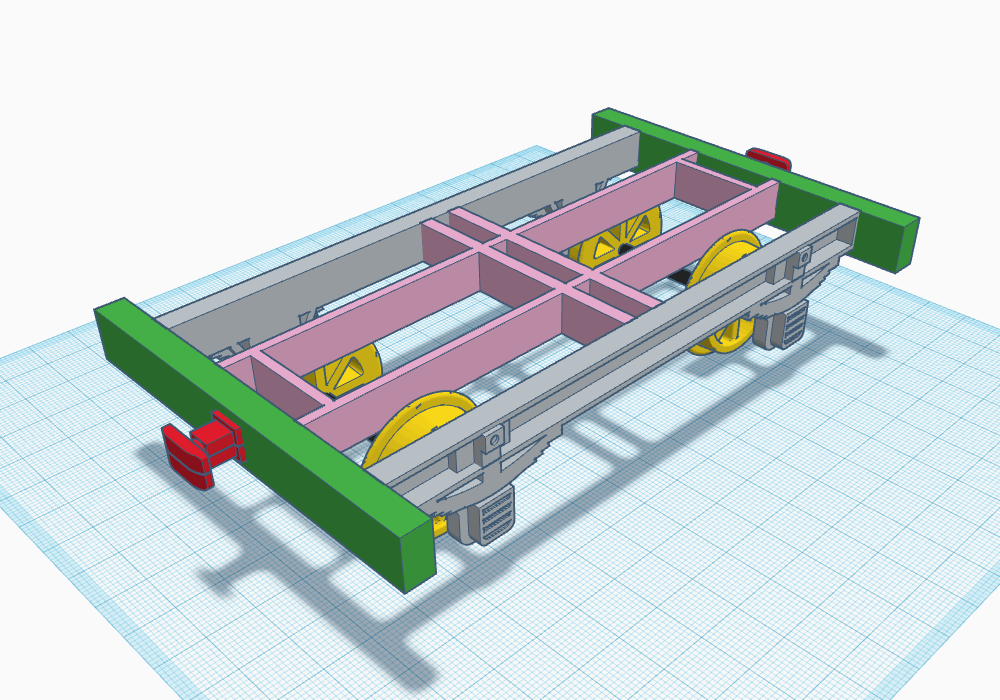
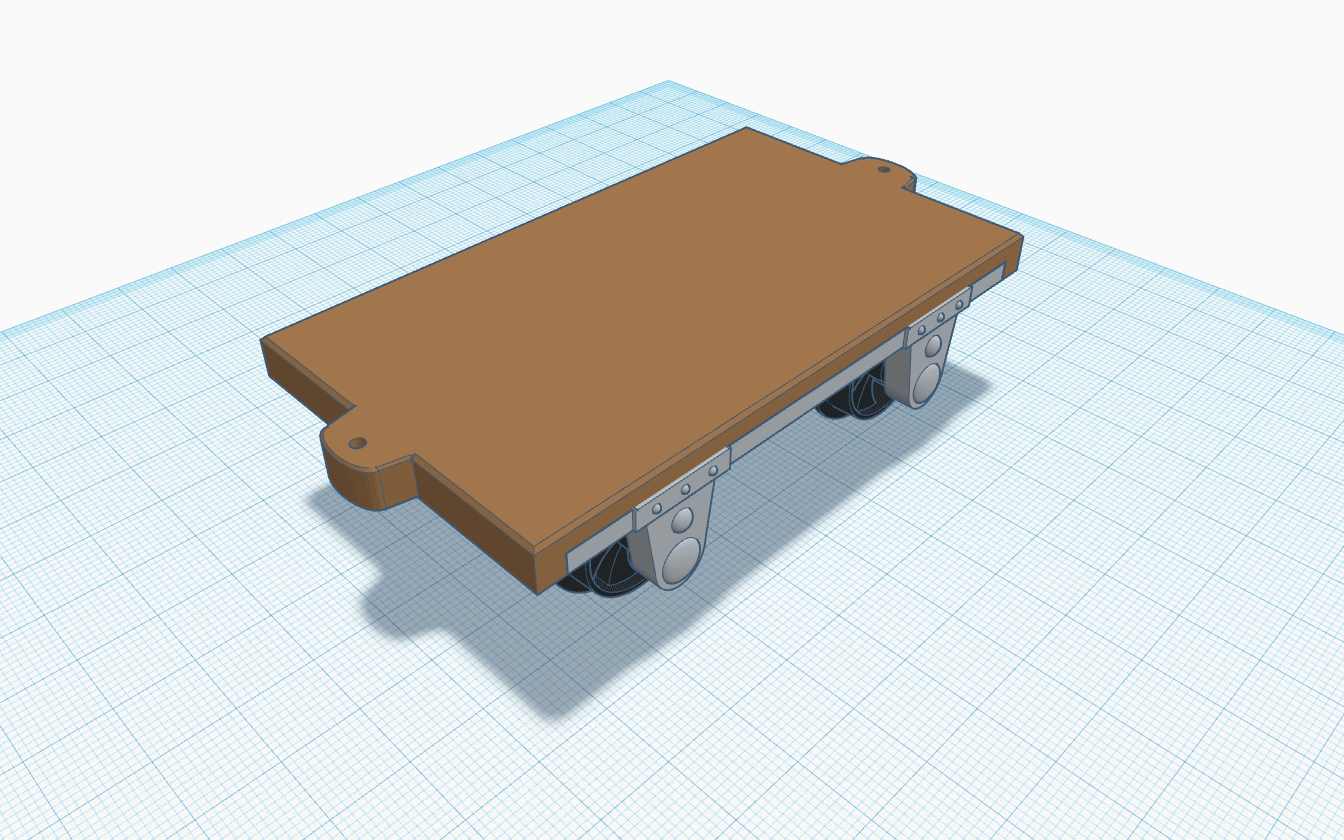 Industrial Chassis |
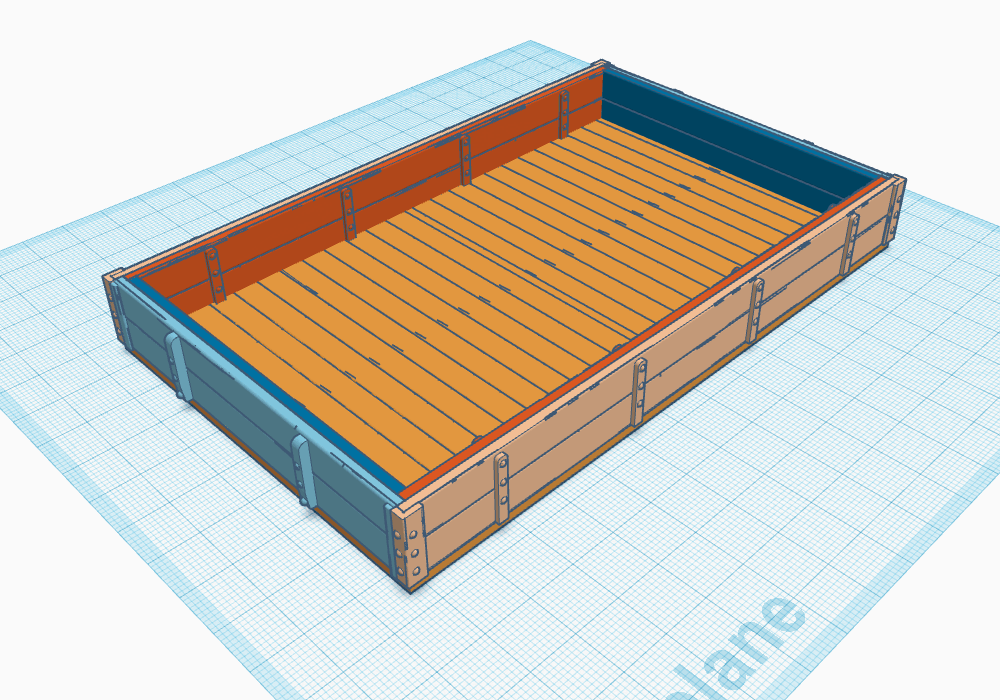
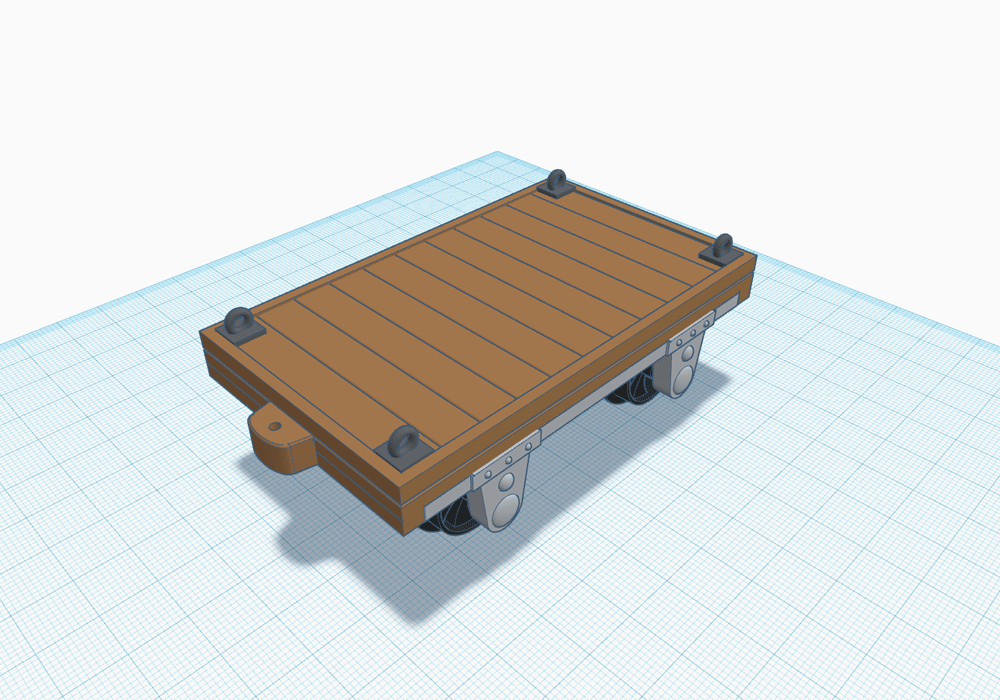 Industrial Flatbed |
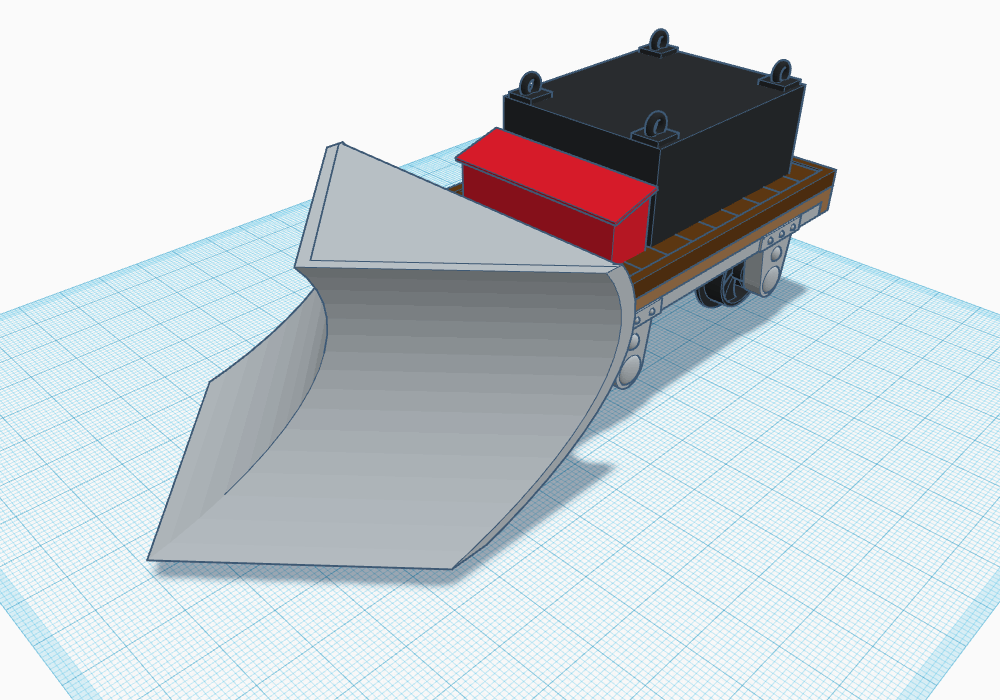 Industrial Snow Plough |
 Industrial Brake Van |
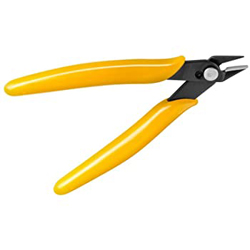 Wire Cutters/Snips (Flush) |
 Diamond Files |
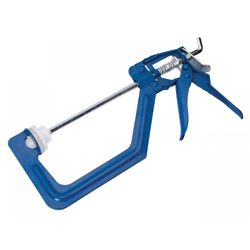
 Locking C-Clamp |
 Clamps |
 |
Glue Application
I use an application pattern similar to this when affixing large flat pieces together such as the chassis & bed on the industrial wagons or inner & outer side halves. This allows for a good glue coverage but minimizes the risk of air bubbles being trapped between the surfaces. |
Step 1.
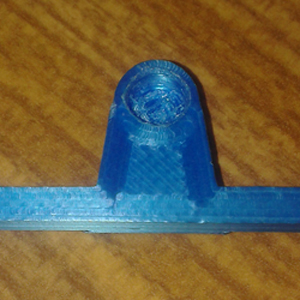
Using a sharp craft knife or diamond file you can remove the excess material from the lip of the hole and slightly chamfer the entrance. |
Step 2.
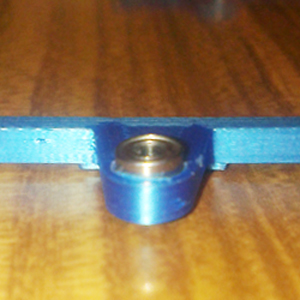
Seat the bearing in the mouth of the hole as level as possible. As you can see, the hole has been prepared/enlarged so the bearing is snug but not overly tight. |
Step 3.
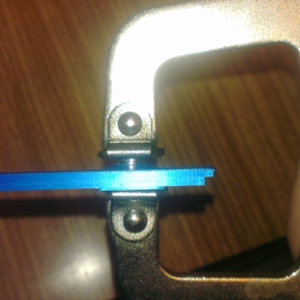
Use a set of C-Clamp grips to ensure an even pressure and gently ease the bearings into place. Be careful! - too much pressure could damage the plastic or the bearing, you can aid the pressing home with a trace of oil if you wish. |
Step 4.
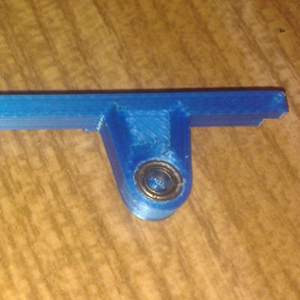
The bearing face should finish flush with the plastic. |